
Onimusha Way of the Sword Combat Guide: How to Perfect Your Parry Timing

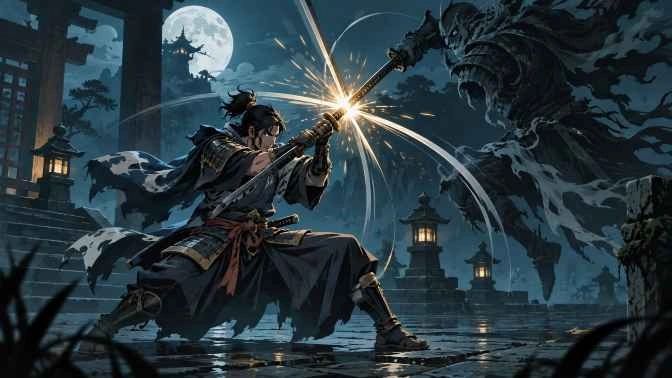
Stop mashing block. Way of the Sword punishes held guard harder than it punishes a missed counter, and the players who bounce off this game are almost always the ones treating Parry, Deflect, and Issen as three names for the same button. They are not. This guide breaks down Onimusha Way of the Sword parry timing layer by layer, so you stop reacting to Genma and start reading them.
Capcom released Way of the Sword on September 4, 2026, moving it forward three weeks from the original September 25 date after demo feedback. It launched on PS5, Xbox Series X|S, Nintendo Switch 2, and PC via Steam and the Epic Games Store, sold over a million copies on day one, and landed “generally favorable” reviews. It is the first mainline Onimusha in twenty years.
What Makes Way of the Sword’s Combat Different
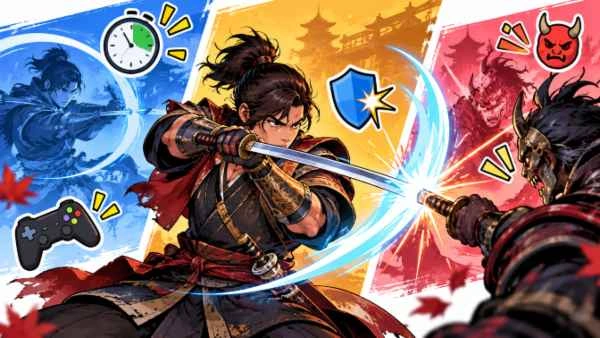
This is not a Soulslike, whatever the marketing algorithm tells you. Capcom built the combat around tactical blade-to-blade exchanges: reading an opponent’s commitment, answering with the correct defensive tool, and converting that answer into offense.
You play Miyamoto Musashi, modeled on Toshiro Mifune’s likeness, cutting through Genma across Edo-era Kyoto. Musashi carries a katana and the Oni Gauntlet. The gauntlet absorbs souls from fallen enemies, and those souls feed every other system in the game.
The core loop is short and brutal. Read the attack. Pick your defense. Drain stamina. Break. Execute. Absorb.
Every incoming Genma attack is a question with more than one correct answer, and picking the wrong one costs you health, stamina, or an opening you will not get again.
Core Strategy: The Four Defensive Layers Explained
Way of the Sword does not have one parry button. It has a layered defensive toolkit built off the same block input, where the tier you achieve depends on when you press relative to the incoming attack.
Learn them in order. Skipping to Issen is how people bounce off this game.
Layer One: Held Block
Hold the block button and Musashi guards from any direction, including ranged attacks. It sounds like the safe option.
It is your fallback, not your foundation. Blocking too much drains your own stamina, and a drained Musashi eats a guard break at the worst possible moment. Held block exists for the attacks you failed to read, not for the ones you did.
Use it to survive a mistake. Never use it as a strategy.
Layer Two: Parry
Input: L1 on PlayStation / LB on Xbox
Parry is a precisely timed defensive action that interrupts an incoming strike and leaves the enemy vulnerable. You press block as the attack connects, not before.
A successful parry staggers the enemy and creates an opening for a counterattack. It also builds the Blaze Gauge, the meter that pushes Musashi into Blazing State.
This is the timing you drill first. Everything above it uses the same read.
Layer Three: Deflect
Input: Hold L1 + X on PlayStation / Block + A on Xbox
Deflect uses similar timing to Parry but serves a completely different purpose. Where Parry creates an opening, Deflect prioritises stamina damage.
A successful Deflect takes a much larger chunk out of the enemy’s Stamina Gauge than a Parry does. Repeated Deflects push tough enemies toward exhaustion far faster, which is how you reach Break Issen.
Deflect also reflects arrows and ranged projectiles back at the attacker. Against archers and ranged Genma, this converts their offense into your stamina-drain tool. Do not charge archers. Deflect them.
Perfect blocks and deflections also shake loose significantly more blue souls, which means clean defensive play refills your Oni Power gauge on its own.
Layer Four: Issen
Issen is the series’ signature move and the highest-reward option in the game. You attack in the split second an enemy’s blow is about to land, and Musashi answers with an instant riposte.
Against lesser Genma, an Issen is a one-shot kill. Against groups, successful Issen strikes chain, letting you thin a crowd in seconds. Issen kills also drop far more souls than a standard kill.
The window is tighter than Parry. That is the trade. Master Parry first, then convert those same reads into Issens once your timing is consistent.
The fastest way to build the habit: practise Issen on weak enemies exclusively before you ever try to force one against a boss.
Break Issen And The Stamina Gauge
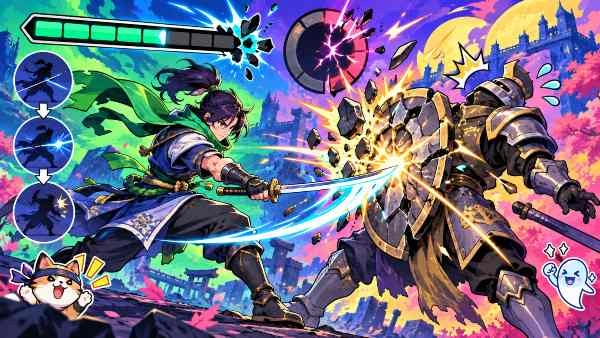
The Stamina Gauge sits at the centre of almost every interaction in this game.
Attacks and defensive counters chip away at an enemy’s stamina. Fully deplete it and you unlock Break Issen — a guaranteed execution that does not require you to win a reaction test.
This is the alternative path for players who cannot land Issen consistently. Instead of fishing for perfect counters, apply defensive pressure with Deflect until the bar empties, then cash in the break.
On bosses, breaking stamina gives you a choice between two targets:
- Red Break — straight damage to the boss, no frills.
- Purple Break — less immediate damage, but triggers a large orb explosion that releases yellow souls for health, blue for Oni Power, and purple for Awakening.
The rule most players learn too late: if your gauge is running dry, take the Purple Break. You give up a little raw damage and immediately refill your resources, which lets you fire an Oni Armament that more than pays back the difference.
Red Break when you are healthy and closing out. Purple Break when you are running on fumes.
Onimusha Way of the Sword Combat Mechanics Table
| Mechanic | Input (PS5 / Xbox) | Timing Cue | Primary Effect | Best Used Against |
|---|---|---|---|---|
| Held Block | Hold L1 / Hold LB | Any time | All-directional guard, drains your stamina | Attacks you failed to read |
| Parry | L1 / LB | As the strike connects | Staggers enemy, builds Blaze Gauge | Standard melee Genma |
| Deflect | Hold L1 + X / Block + A | As the strike connects | Heavy stamina damage, reflects projectiles | Archers, shielded and armored foes |
| Issen | Attack input | Split second before impact | Instant riposte, one-shots lesser Genma | Weak Genma, crowd chains |
| Break Issen | Prompt on stamina break | After stamina bar empties | Guaranteed execution | Bosses, elite Genma |
| Red Break | Break prompt | On boss stamina break | Direct damage | Closing out a healthy fight |
| Purple Break | Break prompt | On boss stamina break | Orb explosion, refills gauges | Low resources mid-fight |
| Reflex Combo | Dodge, then attack | After filling dodge gauge | Alternative offensive burst | Players who dodge over parry |
| Blazing State | Automatic at full gauge | Fills via consecutive parries | Higher damage, more blue soul drops | Extended arena fights |
| Oni Awakening | L3 + R3 | Gauge maxed via purple souls | Full Oni transformation, easier Issen | Boss damage windows |
| Oni Armament | Armament input at full gauge | Oni Power gauge full | Burst weapon summon, then cooldown | Tanky or shielded enemies |
| Yellow Souls | Gauntlet absorb | Drop more often at low health | Restore health | Sustain during long fights |
| Red Souls | Gauntlet absorb | Drop more after Break Issen | Weapon and ability upgrades | Progression spending |
| Blue Souls | Gauntlet absorb | Drop more from clean defense | Fill Oni Power gauge | Fueling Oni Armaments |
| Purple Souls | Gauntlet absorb | Unlocked later in the story | Fill Oni Awakening gauge | Boss burst windows |
Step-By-Step: How To Perfect Your Parry Timing
- Drop into Practice Ground before touching a boss rematch.
- Pick the weakest Genma available. Do not escalate yet.
- Turn off the urge to attack. Watch three full attack cycles.
- Identify the wind-up frame for each enemy’s opener.
- Press block on impact, not on the wind-up.
- Repeat until you land ten clean parries in a row.
- Add Deflect. Same read, different input.
- Deflect the last hit of every enemy combo string.
- Practise deflecting arrows back at archers.
- Watch the Stamina Gauge, not the health bar.
- Deflect until stamina empties. Trigger Break Issen.
- Only now start converting parry reads into Issen attempts.
- Fish for Issen exclusively on weak enemies for a full stage.
- Chain Issen through a group to learn the crowd flow.
- Take the timing into a boss. Expect to lose the first attempt.
- Fight the same boss on Boss Rematch until the read is automatic.
The Soul Economy: What Actually Powers Your Combat
The Oni Gauntlet turns every kill into fuel. Four soul colours feed four different systems, and misreading the economy is why players stall midway through Kyoto.
Yellow souls restore health. They appear more frequently when your health is low, which makes them a rubber-band mechanic rather than a reward for playing safe.
Red souls pay for upgrades. Weapon and ability progression runs entirely on red. They drop more often when enemies are executed with a Break Issen, which gives you a direct incentive to finish fights properly rather than chipping enemies down.
Blue souls fuel Oni Armaments. They fill the Oni Power gauge and nothing else. Clean parries and deflections shake far more of them loose than sloppy aggression does.
Purple souls fill the Oni Awakening gauge. They become available later in the story and are generated by using Oni Armaments.
Blue is the highest-leverage colour in the game because it converts into both offense and sustain. Spending a full blue gauge on the Two Celestials, for example, generates yellow souls on every hit, turning an offensive burst into a heal.
Absorption is not free. It takes attention in the middle of a fight, and some enemies compete with you for orbs on the ground. Unlock the skills that let Musashi absorb while attacking as early as you can afford them — standing still to hoover up orbs is how you eat a combo.
Oni Armaments And Oni Awakening
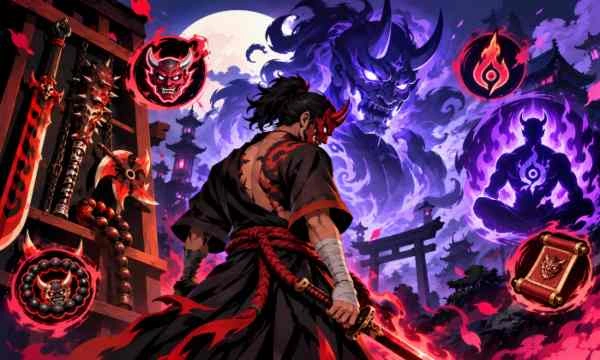
Oni Armaments are not equipped like regular weapons. You summon them mid-fight by spending a full Oni Power gauge, and the armament goes on cooldown until blue souls refill it.
There are seven scattered across the game. Most unlock through story progression, while a few sit in hidden rooms and areas shrouded by Malice.
- Two Celestials — dual daggers that extract yellow souls on hit. Offense and healing in one summon.
- Wind-Whipper — twinblades built for area-of-effect crowd clearing.
- Earth-Shakers — heavy hammers that tear through stamina, shields, and armor. The anti-defense pick, and chargeable for more.
- Firebird Flute — ranged fireballs that ignite enemies and stagger when charged.
- Flashing Void — a spear with a heavy charge that can trigger Break Issen outright.
- Still Water — enhances attacks before releasing a Golden Wave that extracts purple souls.
Oni Awakening is the full transformation, triggered with L3 and R3 together once the Awakening gauge maxes out.
The mistake almost everyone makes here is firing the finisher immediately. Do not. Issen strikes become dramatically easier to land while awakened, so spend the state landing counters and save the finisher for the moment the meter is about to run out.
Musashi also carries an Oni Bow for over-the-shoulder ranged work. Use it to clear archers and flying Genma before they close distance, not as a primary damage source.
Advanced Optimization Tips
- Drill Parry Before Issen, Always — Issen and Parry read the same enemy commitment, but Issen has a tighter window and no consolation prize on a miss. Spend your first few stages landing parries only. Once the read is automatic, converting it into an Issen is a change of input, not a change of skill. Players who chase Issen from hour one end up with neither.
- Deflect Is Your Stamina Weapon, Not Your Safety Net — Because Deflect drains far more stamina than Parry, it is the fastest route to Break Issen against armored and shielded enemies where raw damage stalls out. Against ranged Genma it doubles as offense by reflecting projectiles. Build the habit of deflecting the final hit of every enemy combo string — that is where the reliable window sits.
- Run The Blaze To Blue To Awakening Chain — Consecutive parries fill the Blaze Gauge and push Musashi into Blazing State, which raises damage and makes blue souls drop more often. Blue souls fire an Oni Armament, using an armament generates purple souls, and purple souls build Oni Awakening. That is a complete self-sustaining loop that starts with clean defense. Break the chain at any point and you are fighting bosses with a fraction of your kit.
- Take Purple Break When Your Gauges Are Empty — Red Break looks like the greedy-correct choice because it deals immediate damage. In practice, the orb explosion from a Purple Break refills health, Oni Power, and Awakening in one go, letting you immediately summon an armament that out-damages what you gave up. Treat the Red-versus-Purple prompt as a resource decision, not a damage decision.
- Practice Ground And Boss Rematch Are Not Optional — Way of the Sword ships 18 main boss fights, and the highest difficulty, Carnage, unlocks the True Onimusha achievement. Boss Rematch lets you re-fight any encounter with your current build. Use it to learn a boss’s tells with nothing at stake, then take the read into a live run.
- Go Easy On Consumables Your First Run — Leaning on healing items masks bad reads and stalls your timing development. Upgrade the Medicinal Pouch for capacity, but treat items as an emergency valve rather than a fight plan, especially before your first Carnage attempt.
Frequently Asked Questions
What is the parry timing in Onimusha Way of the Sword?
You press block as the enemy’s attack connects, not during the wind-up. Capcom has not published frame data, so the window is learned by feel — drill it on weak Genma before taking it to a boss.
What is the difference between Parry and Deflect?
Parry staggers the enemy, opens a counterattack window, and builds the Blaze Gauge. Deflect uses similar timing but deals far more stamina damage and reflects projectiles back at ranged attackers.
How do you trigger Issen in Way of the Sword?
Attack in the split second before an enemy’s strike lands. This perfect counter one-shots most standard Genma and chains through groups, and it drops significantly more souls than a normal kill.
What is Break Issen and how do I use it?
Break Issen unlocks once you fully deplete an enemy’s Stamina Gauge, usually through repeated Deflects. It gives you a guaranteed execution without needing to win a reaction test, and on bosses it lets you choose between a damage-focused Red Break and a resource-refilling Purple Break.